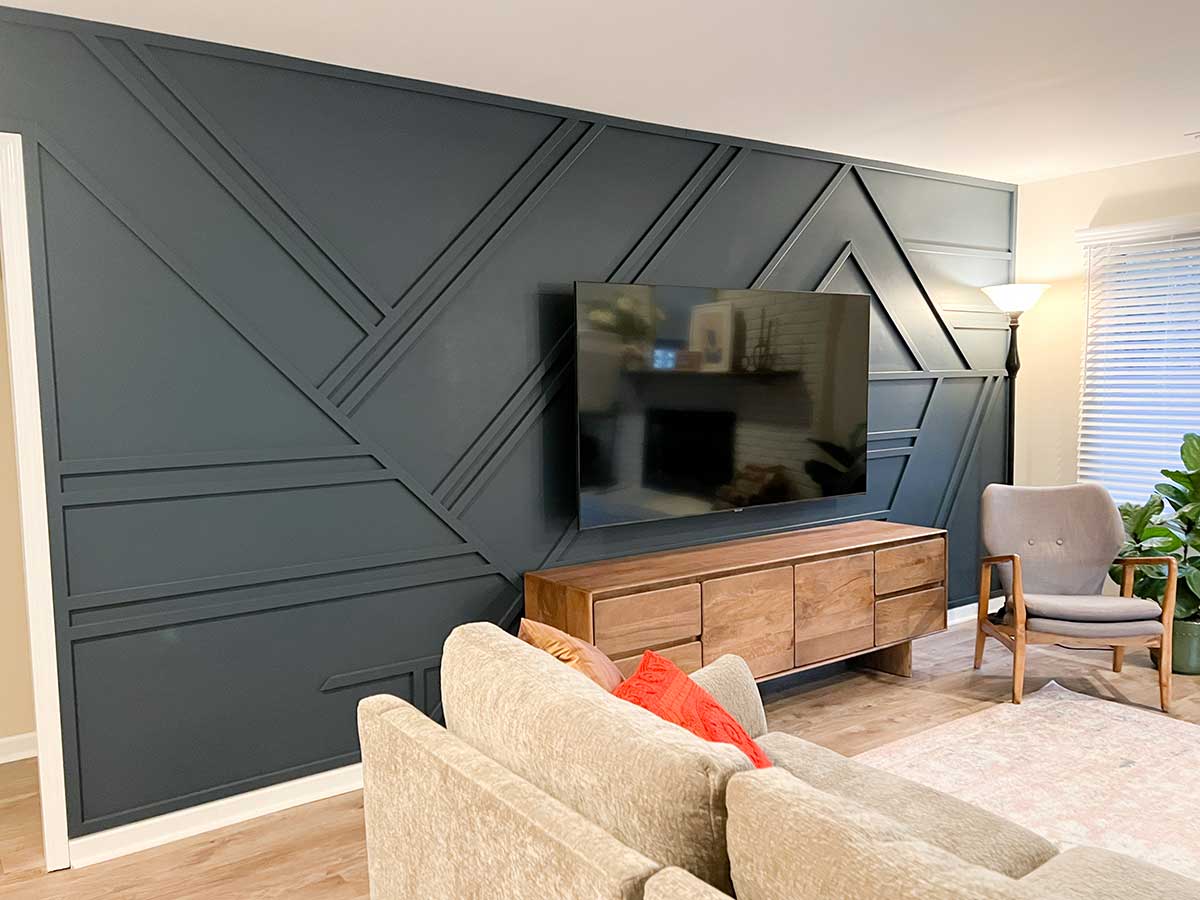
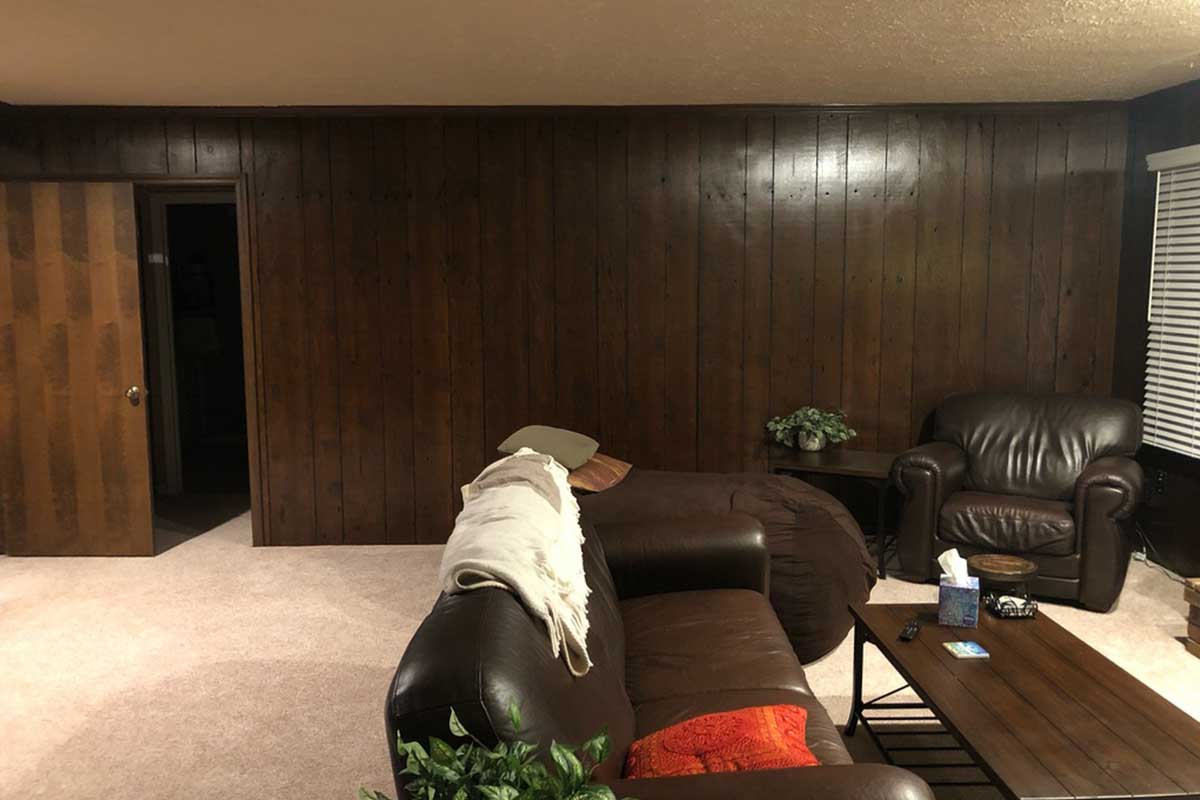
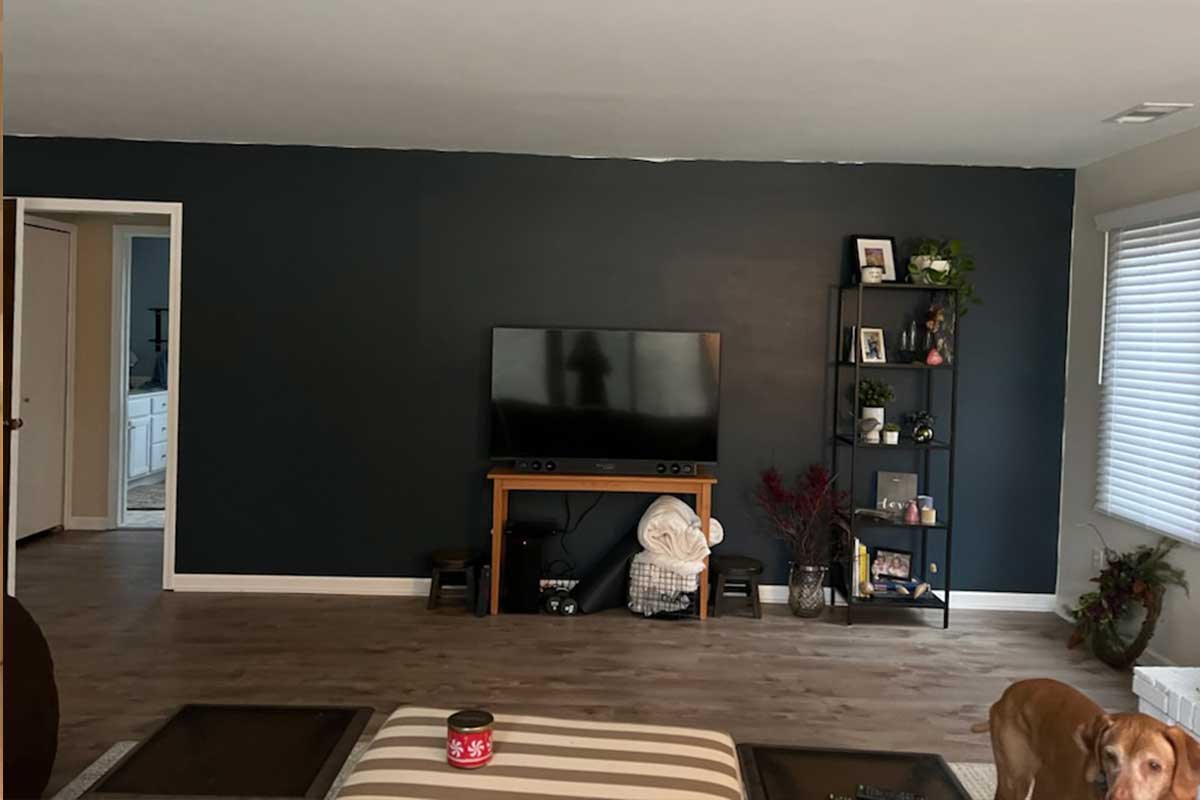
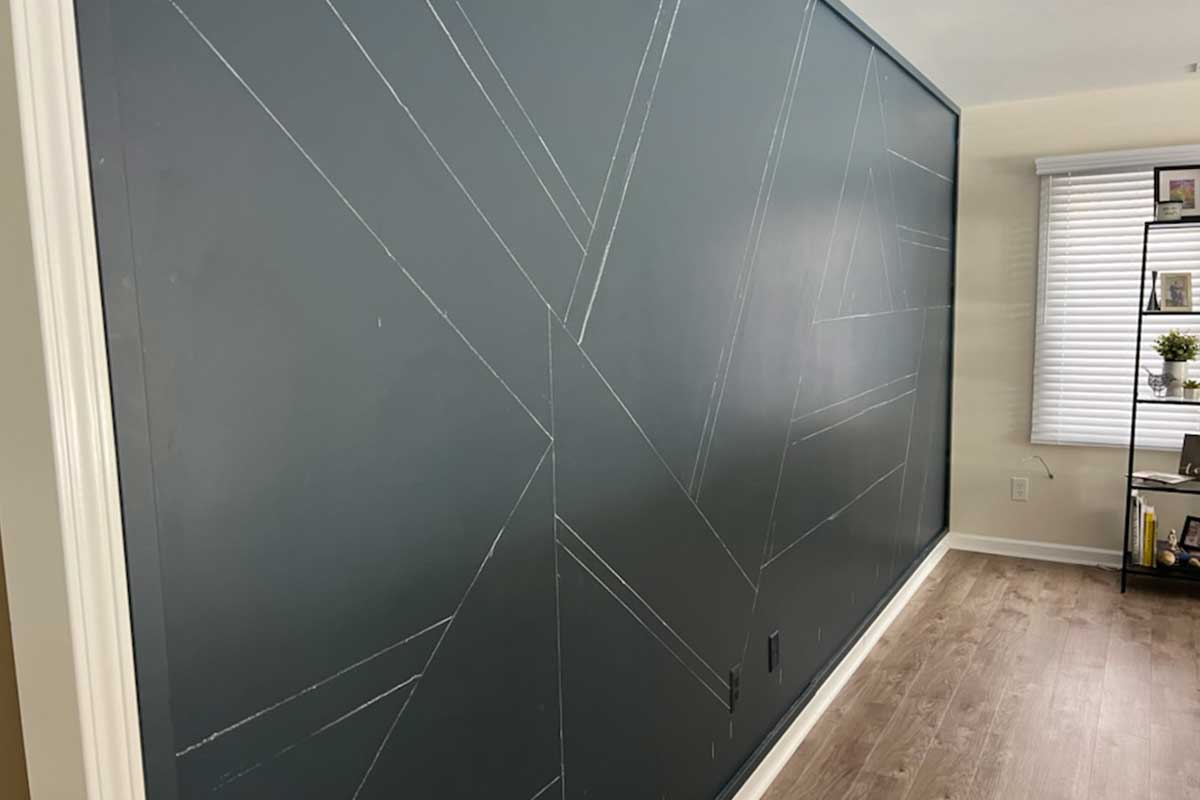
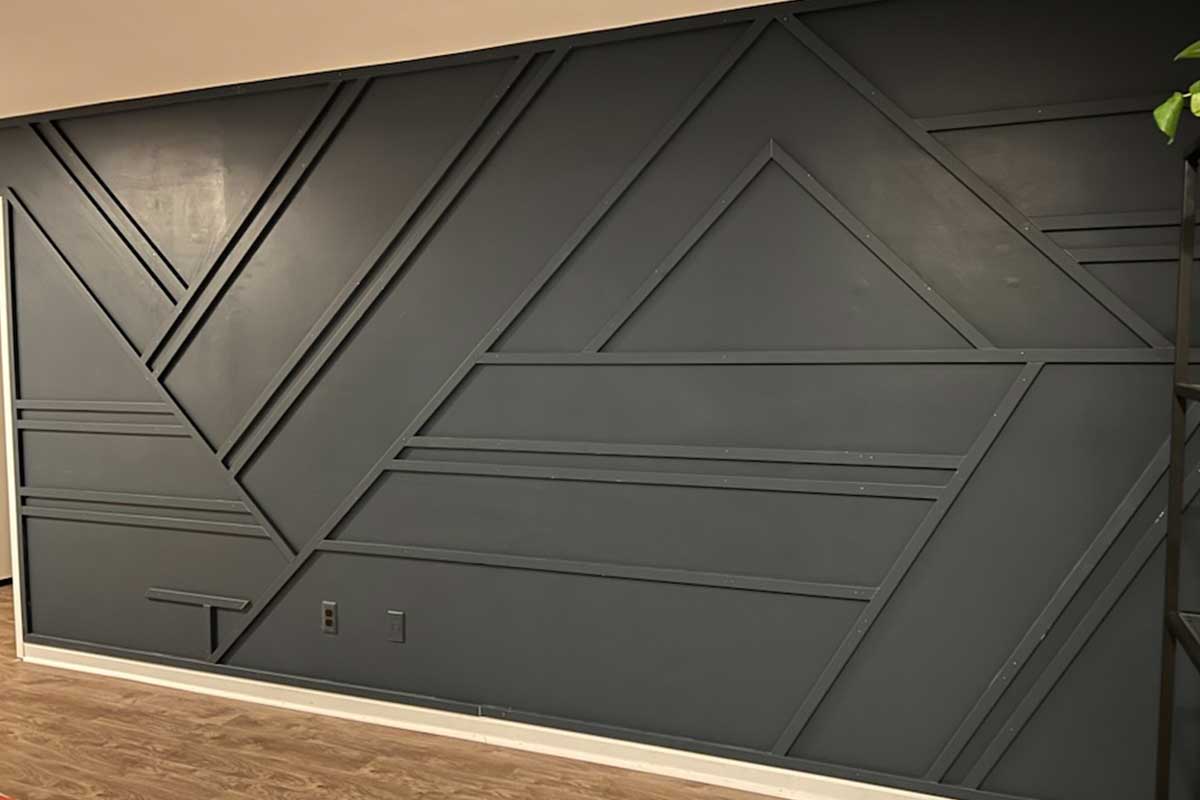
There is something exciting about working on a project when you know you can glow up the whole room. Not just a section, just everything. This is when the idea of DIY Geometric Accent Wall came to mind. We were working with a blank slate.

My current role in this project was visionary. I was happily named that by my husband, who is the doer. I dream up these wonderful ideas and sign him up for the project. He is a talented DIYer. Above all, he is so patient, accurate, and, number one…willing to create these dreamed-up projects.

navy blue accent geometric accent wall with TV mounted above wood console

Geometric Accent Wall Supplies Needed

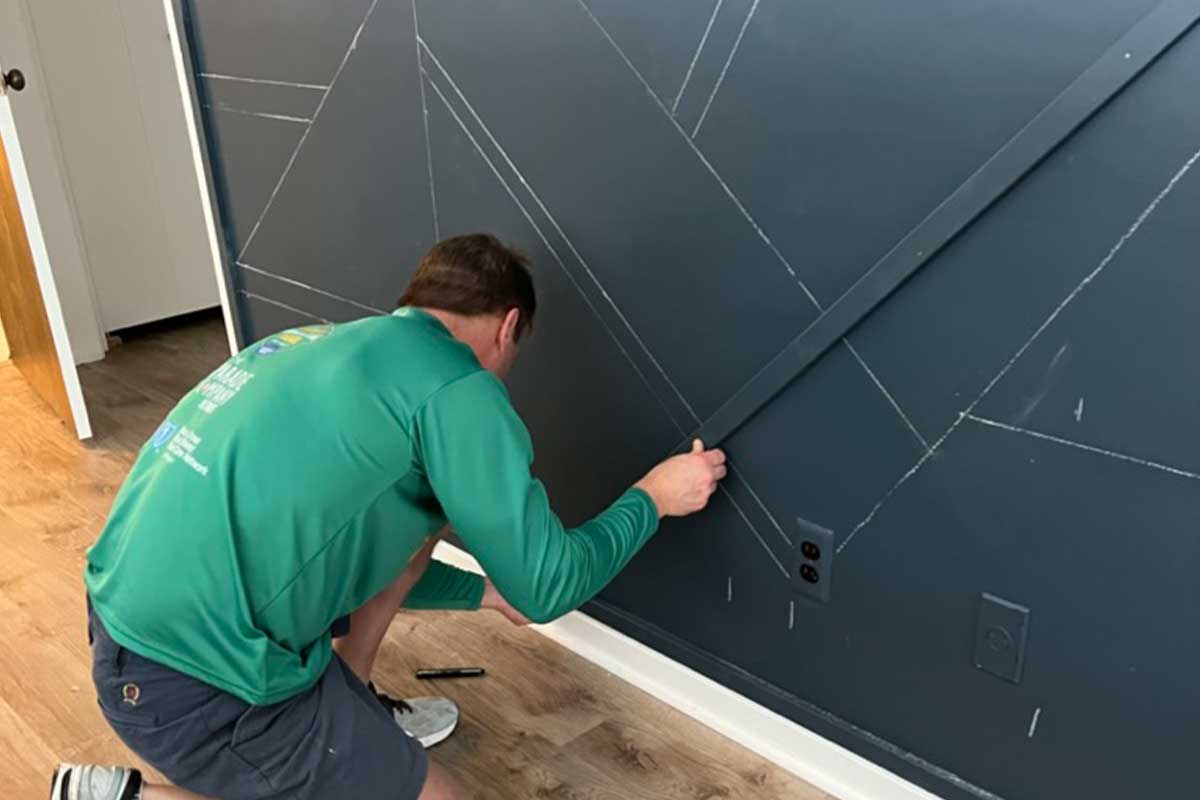
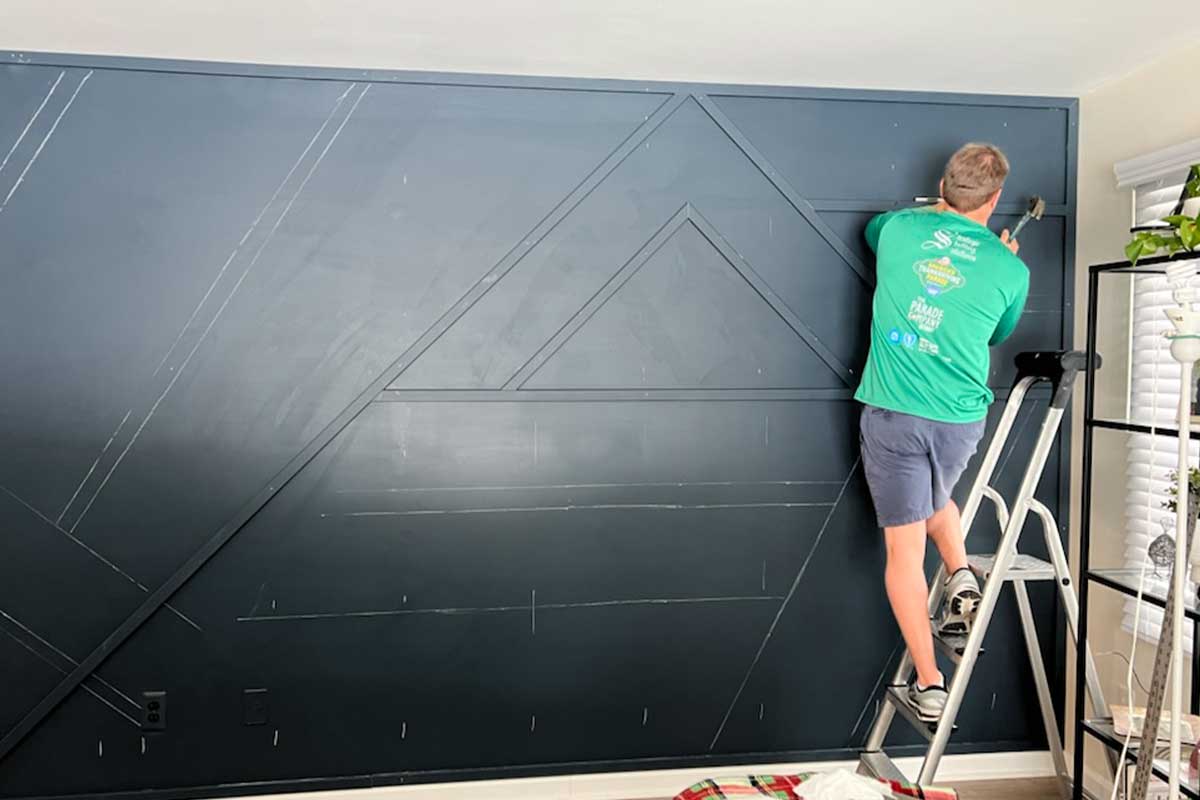
These are the supplies we used to create and install the accent wall. When starting the design and planning, at this point use this information as a guide for the accent wall. There are many different patterns you can design, some, like board and batten, use straight lines, which could be easier to execute.

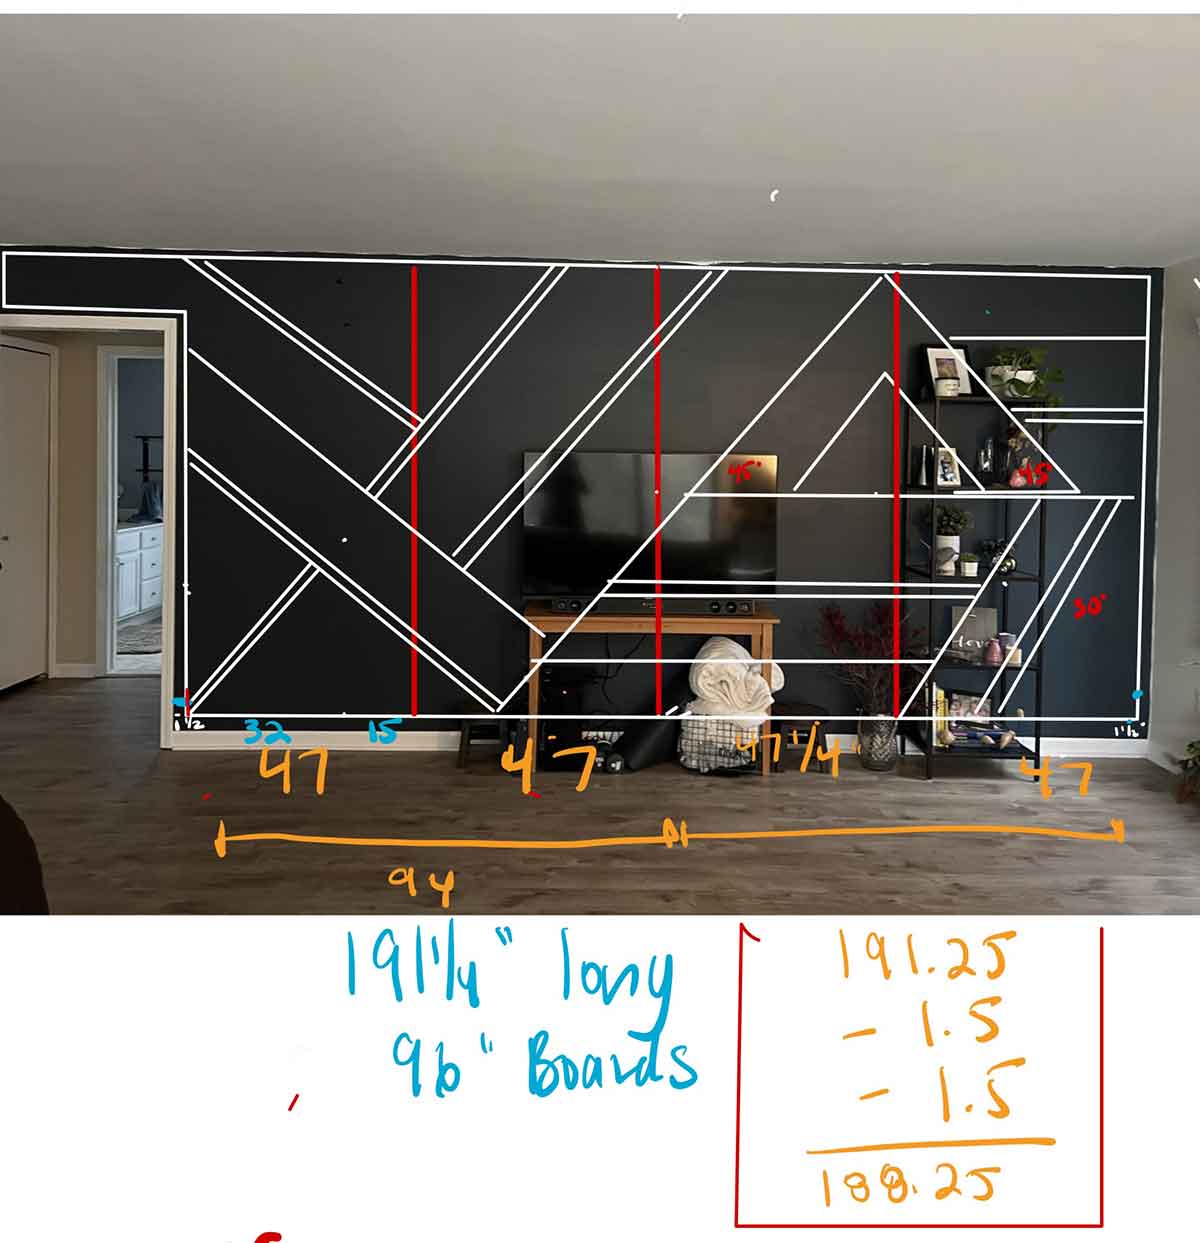
We created our initial design using our iPad and the note-taking app, Good Notes. An online app instead of pen and paper makes sketching a breeze, in the long run, it saves time. You can erase, move and add new information easily.
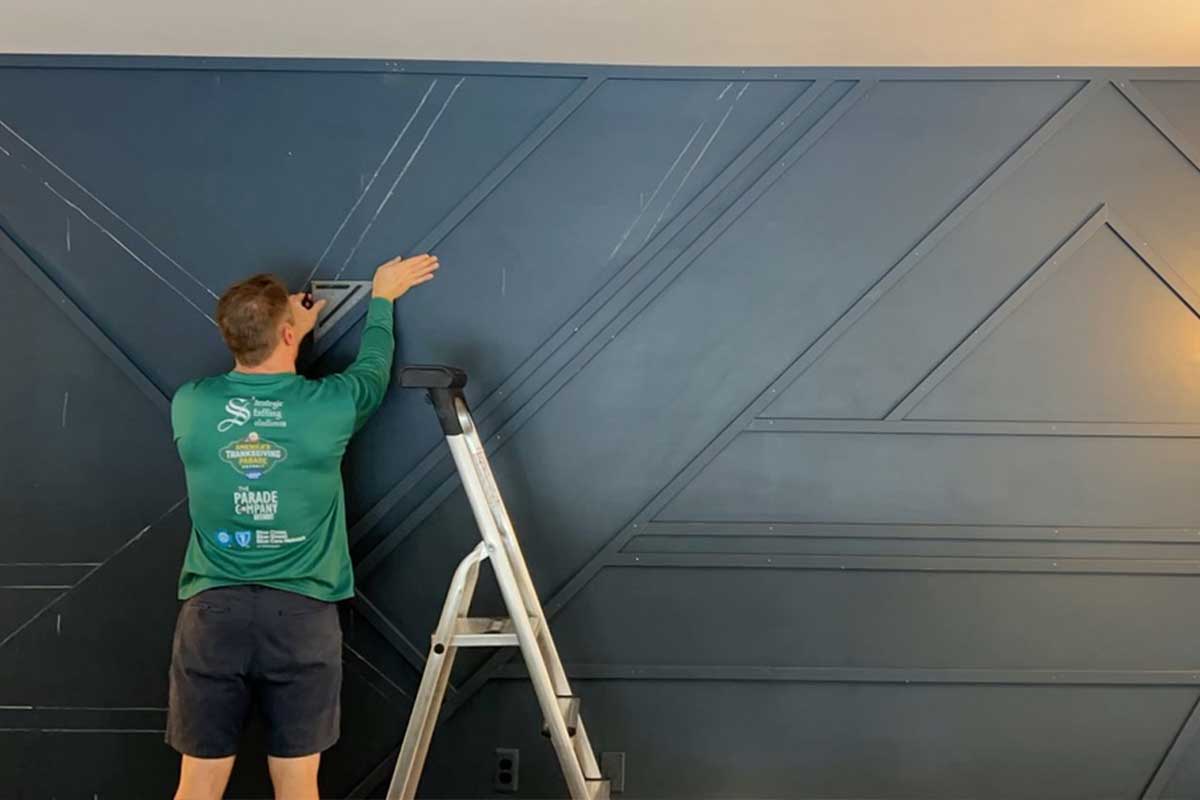
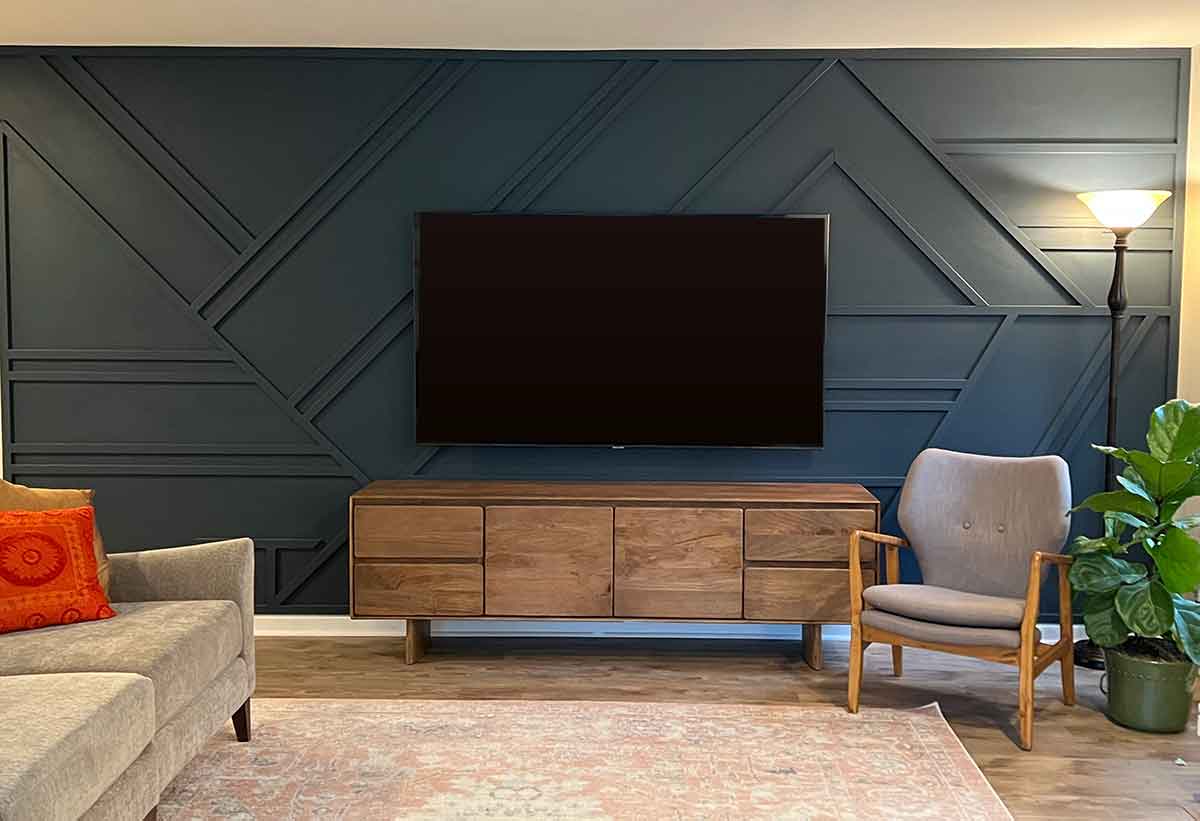
Materials

  • Trim Board, 1 x 2, we used MDF that was already primed
  • Chalk
  • Caulk
  • Wood Filler
  • Primer
  • Paint
  • Painting Supplies: brushes, roller, paint tray
  • Painter Tape
  • Sand Paper; different grit sizes including extra fine
  • Drop Cloth

Tools

  • Hammer
  • Nail Setter
  • Finishing Nails
  • Level
  • Stud Finder
  • Tape Measure
  • Putty Knife
  • 45-degree angle corner ruler
  • Miter Saw
  • Nail Gun (optional)

Geometric Wall Before and After Photos

Geometric Accent Wall Installation Instructions

  • Idea and Design
    This is the first start when deciding what you want your wall to look like. There are many options for adding an accent wall with wood trim to your room. Several types of accent wall designs are Board and Batten, Vertical Slats, Horizontal Slats, Wainscoting, Grid, and Geometric pattern.
  • Sketch and Plan your design
    We used two different methods to sketch and plan the design on the wall. Using an iPad with a notes app worked great. I was able to import the image of the wall and start drawing lines and patterns that resonated with me. It was easy to move, remove and adjust without starting completing from scratch. To add the design to the wall, it was free-hand using white chalk on our navy blue accent wall. These were not accurate measurements, but a starting point to review on. a large scale and begin.
  • Gather All Materials
    Gathering all your materials in one area is key. You will be making several trips to the miter saw, searching for your level and measuring and re-measuring. Having these organized keeps your project plan on track. You can use the list above as a guide to gather your materials and tools.
  • Measure and Cut Boards
    We started with 1 x 2 96-inch long MDF boards that were pre-primed. This is where the tools for the miter saw, measuring tape, level and 45-degree angle were put into constant use. Our approach was starting in the upper right corner and moving left. There was one centered level board that was used as an additional guide. Each board was cut and than installed.
  • Install Boards
    Install the boards and we had two people, so we did not use glue to hold the board in place before nailing. We could hold and use a nail and hammer into the stud to brace the board. This was nice because I was still involved in the active installation of our navy blue accent wall.
  • Finishing with wood filler and sanding
    After the wood boards were added to the wall, we used a nail setter to inset the nails and fill them with wood filler. Once the wood filler was cured we lightly sanded it to prepare for painting.
  • Caulk
    As we learn along the way while working on home projects, all walls are not level. You will use the caulk to fill gaps in boards against the wall and along the trim. This gives a very finished look. A tip is to make sure the caulk is paintable.
  • Paint the Wall or Touch Up Painted Wall
    The project is near completion—time to paint your final wall color and touch up. We chose to paint the wall and boards before installing. We needed to touch up to complete the wall.
  • Admire
    After the clean-up is complete, it is time to sit back and admire your new modern wood accent wall. We took the time and truly enjoyed the effort put into the work. This is a project I’m genuinely proud of and so thankful my husband is too!

Tips and Notes

  • Have fun with this project. Measuring and re-measuring can be exhausting, but it is worth it every step of the way.
  • A strong suggestion if you choose to have angles in your wall is to have ALL angles at the same degree. We used a 45-degree angle for most. I made the executive decision to change it in ONE area. Not super noticeable, but it is different. I wish my suggestion of changing that one area were vetoed. But once again, I’m the visionary.
  • We painted our family room accent wall and our boards first. This worked well for us and there was only touch up to work once the wall was completed.
  • We added an “Easter Egg” to our wall. It is something that we know is there and is significant to us. We sometimes mention seeing if anyone can find it or just continue to keep it our little secret!

4 Comments

Leave a Reply

Your email address will not be published. Required fields are marked *